With the rise of DIY digitization kits, many people are trying to convert their old analog audio recordings at home. Whether you’re working with cassette tapes, reel-to-reels, or even vinyl records, DIY digitization can seem like a cost-effective solution. However, while it might be tempting to handle the process yourself, there are several common mistakes that can lead to poor results—and even damage your valuable recordings.
Before you embark on a DIY digitization project, let’s take a look at five common mistakes to avoid.
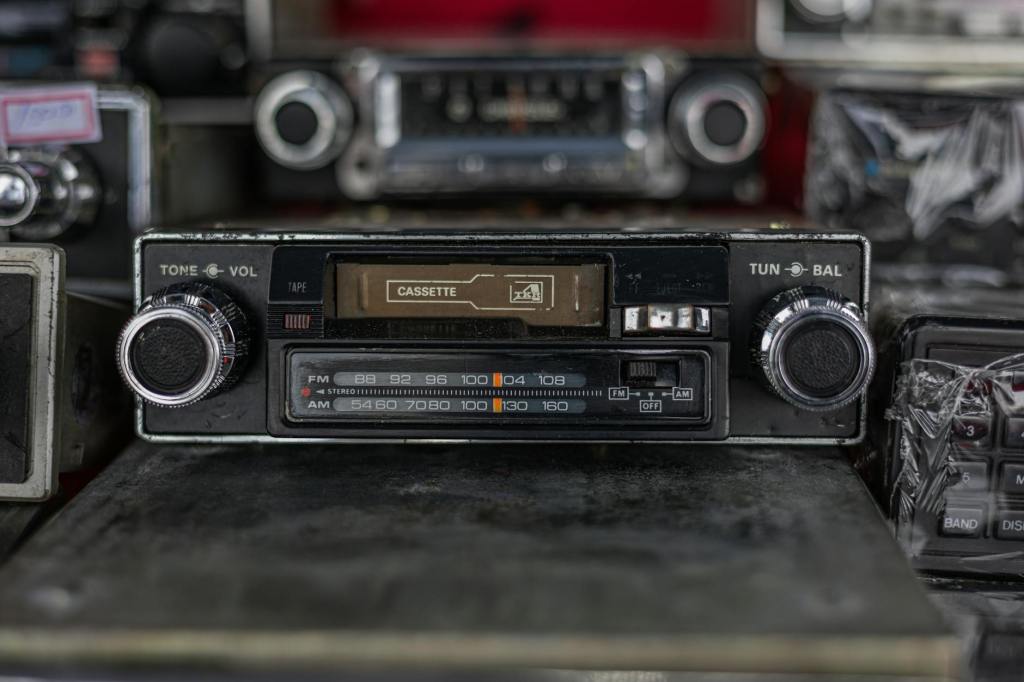
1. Using Low-Quality Equipment
One of the biggest pitfalls of DIY digitization is relying on low-quality equipment. Many home kits come with basic converters that can produce subpar digital audio. These devices often introduce noise, distortion, or clipping, and they don’t capture the full dynamic range of your original recording. To get a true, high-fidelity digital copy, professional-grade equipment is essential.
At Talking Owl Technologies, we use industry-standard analog-to-digital converters that ensure your recordings are captured with the best possible sound quality, preserving every detail.
2. Ignoring the Signal Chain
The signal chain is the path your audio signal takes from the source (your analog tape or reel) to the final digital output. Each component in the chain—from the playback device to the cables and converters—affects the sound quality. Many DIY setups neglect this, using cheap or mismatched cables and poor connections, which can introduce noise or degrade the signal.
By contrast, our team at Talking Owl optimizes every element of the signal chain to ensure clean, professional-grade audio with minimal noise and distortion.
3. Over-Compressing the Files
When digitizing at home, it’s common to choose smaller file sizes (like MP3s) to save storage space. However, compressing your audio too much can result in a loss of detail and sound quality. Once those frequencies are gone, they can’t be recovered.
For archival purposes, it’s best to save your recordings in a lossless format, like WAV or FLAC, which preserves all of the original audio data. We always provide our clients with high-quality, lossless digital files, ensuring that every detail of their recording is retained.
4. Skipping the Cleaning Process
Analog recordings, especially those stored for a long time, are prone to dust, dirt, and even mold. Playing back dirty tapes or vinyl can damage both the media and the playback equipment, leading to poor sound quality. Before digitizing, it’s important to clean the media properly to avoid introducing noise or damaging your materials.
At Talking Owl, we carefully inspect and clean every tape, reel, or vinyl before digitizing, ensuring the cleanest possible transfer.
5. Failing to Back Up Your Files
Imagine spending hours digitizing your old audio recordings, only to lose everything due to a hard drive failure or accidental deletion. Many DIY enthusiasts forget to create backups of their digital files, putting their newly digitized audio at risk.
When you work with us, we provide multiple backup options, so your digital files are always safe and secure. We can even assist with cloud storage options for easy access and peace of mind.
Why Trust the Professionals?
Digitizing analog audio might seem straightforward, but it’s a delicate process that requires the right equipment, expertise, and attention to detail. At Talking Owl Technologies, we’ve spent years perfecting our process to ensure the highest quality digitization, preservation, and restoration of your audio recordings.
If you want to avoid these common pitfalls and ensure your audio is preserved in the best possible quality, leave the digitization to us. Contact us today for a free consultation and let us help you bring your recordings into the digital age.

Leave a comment